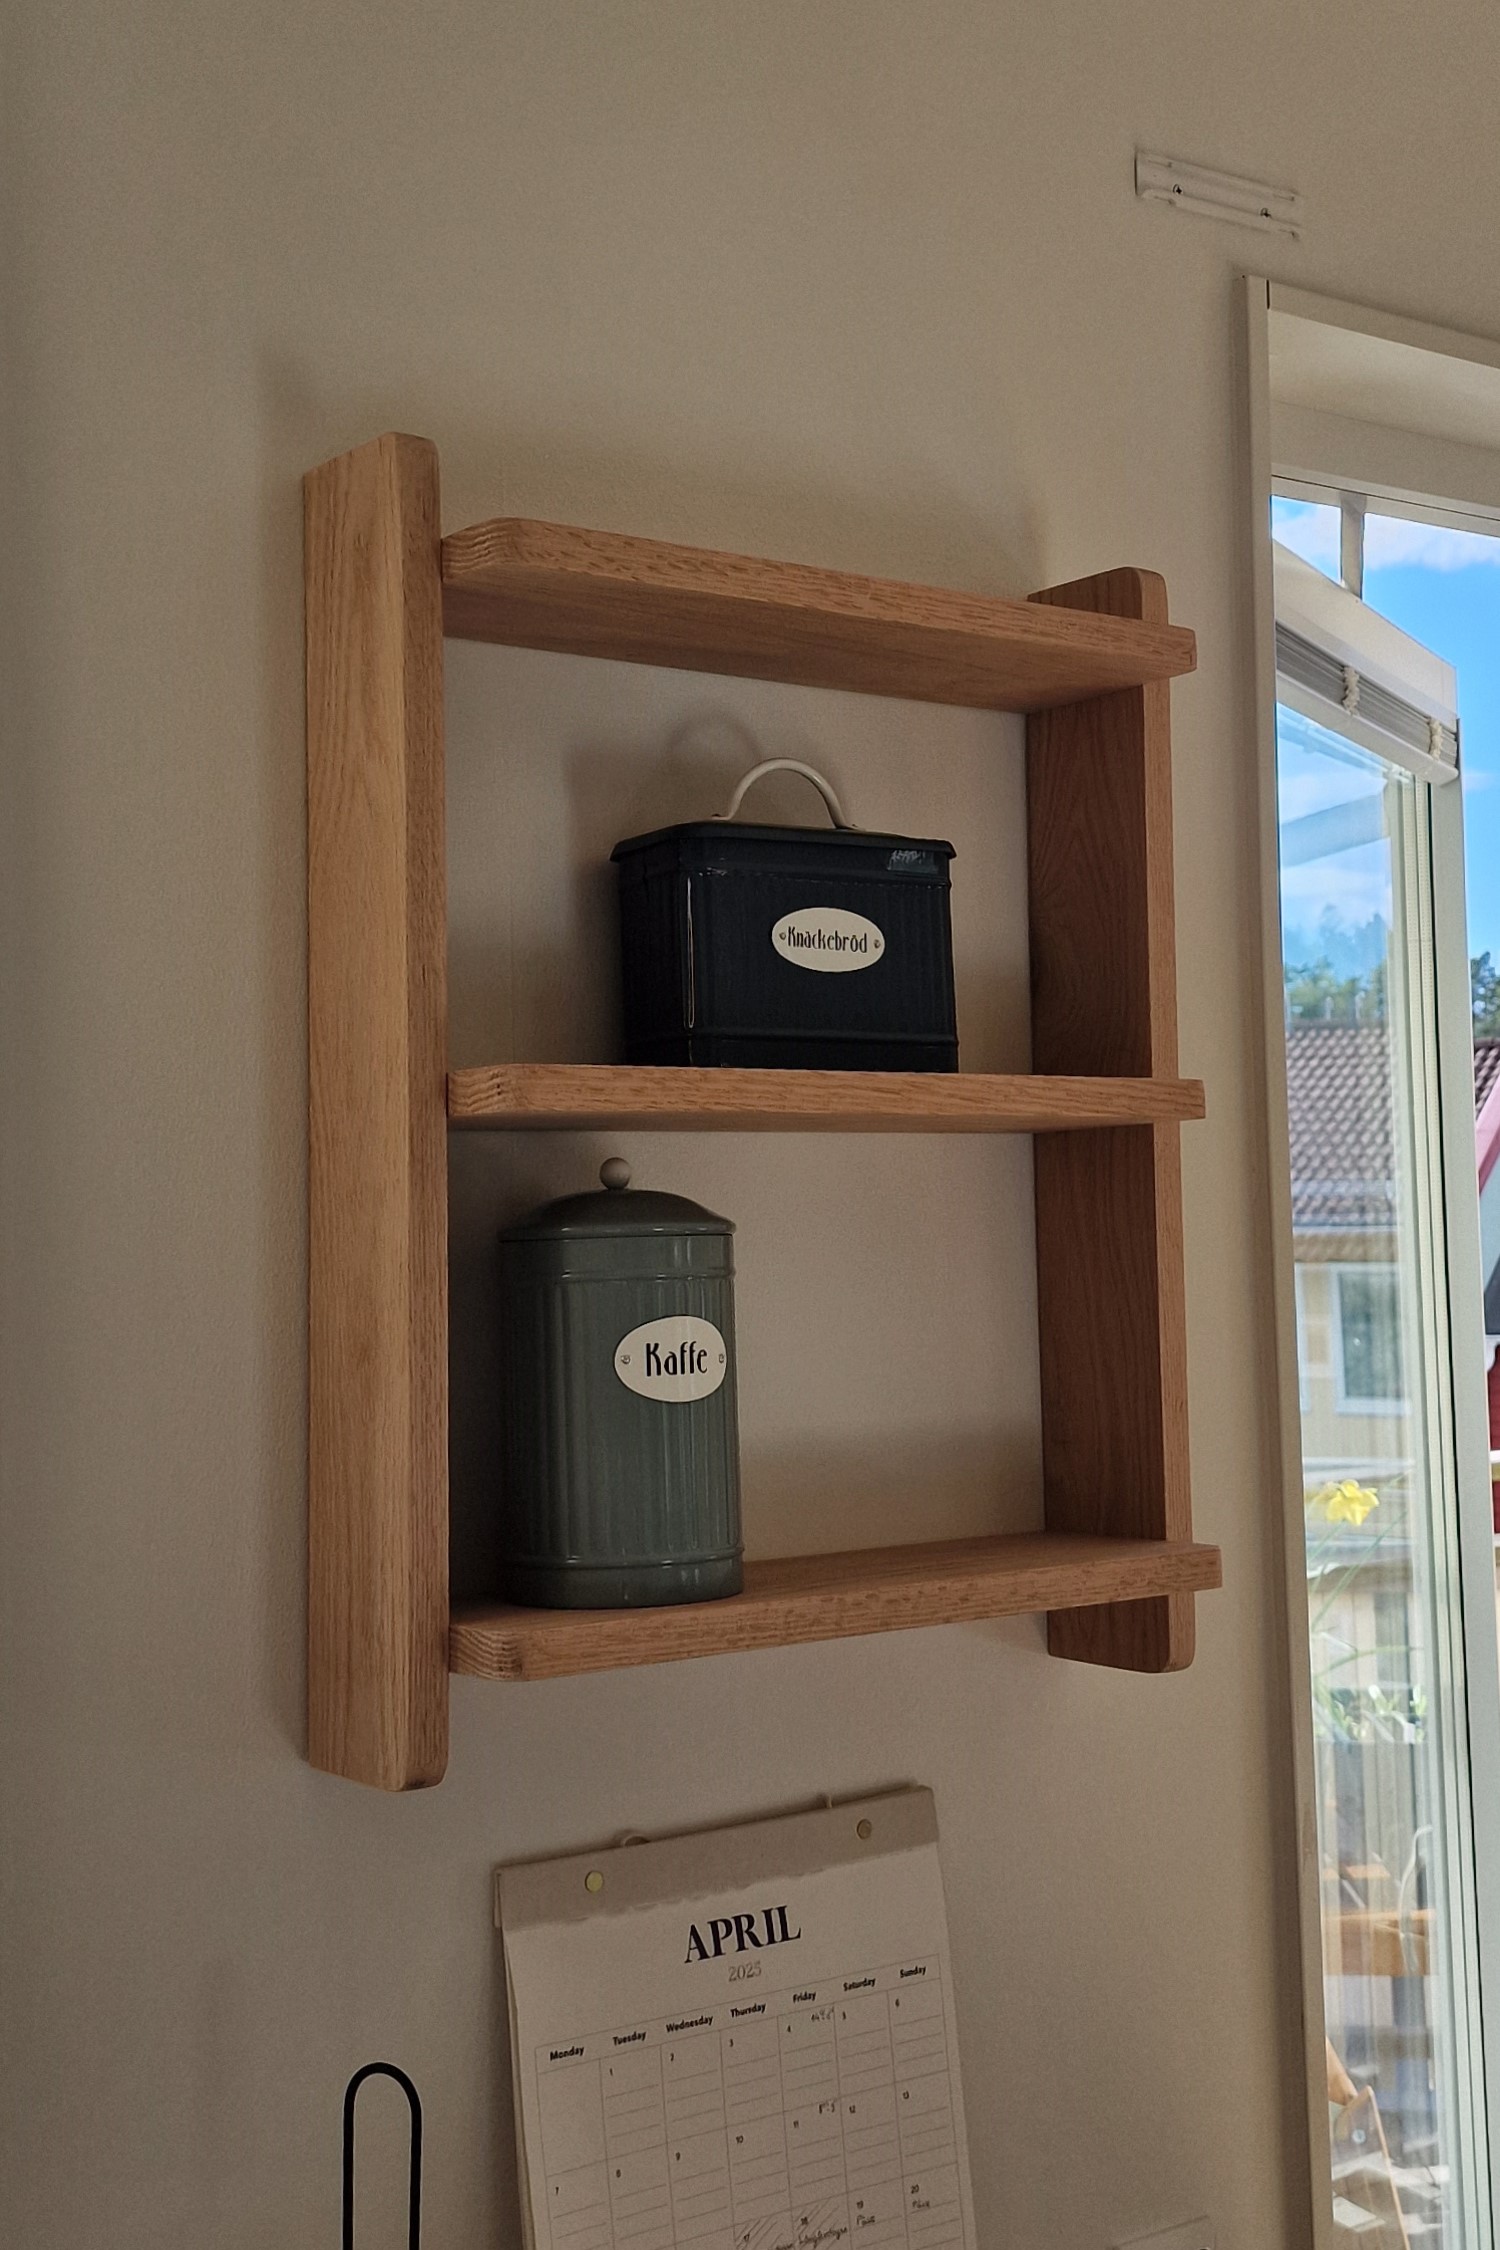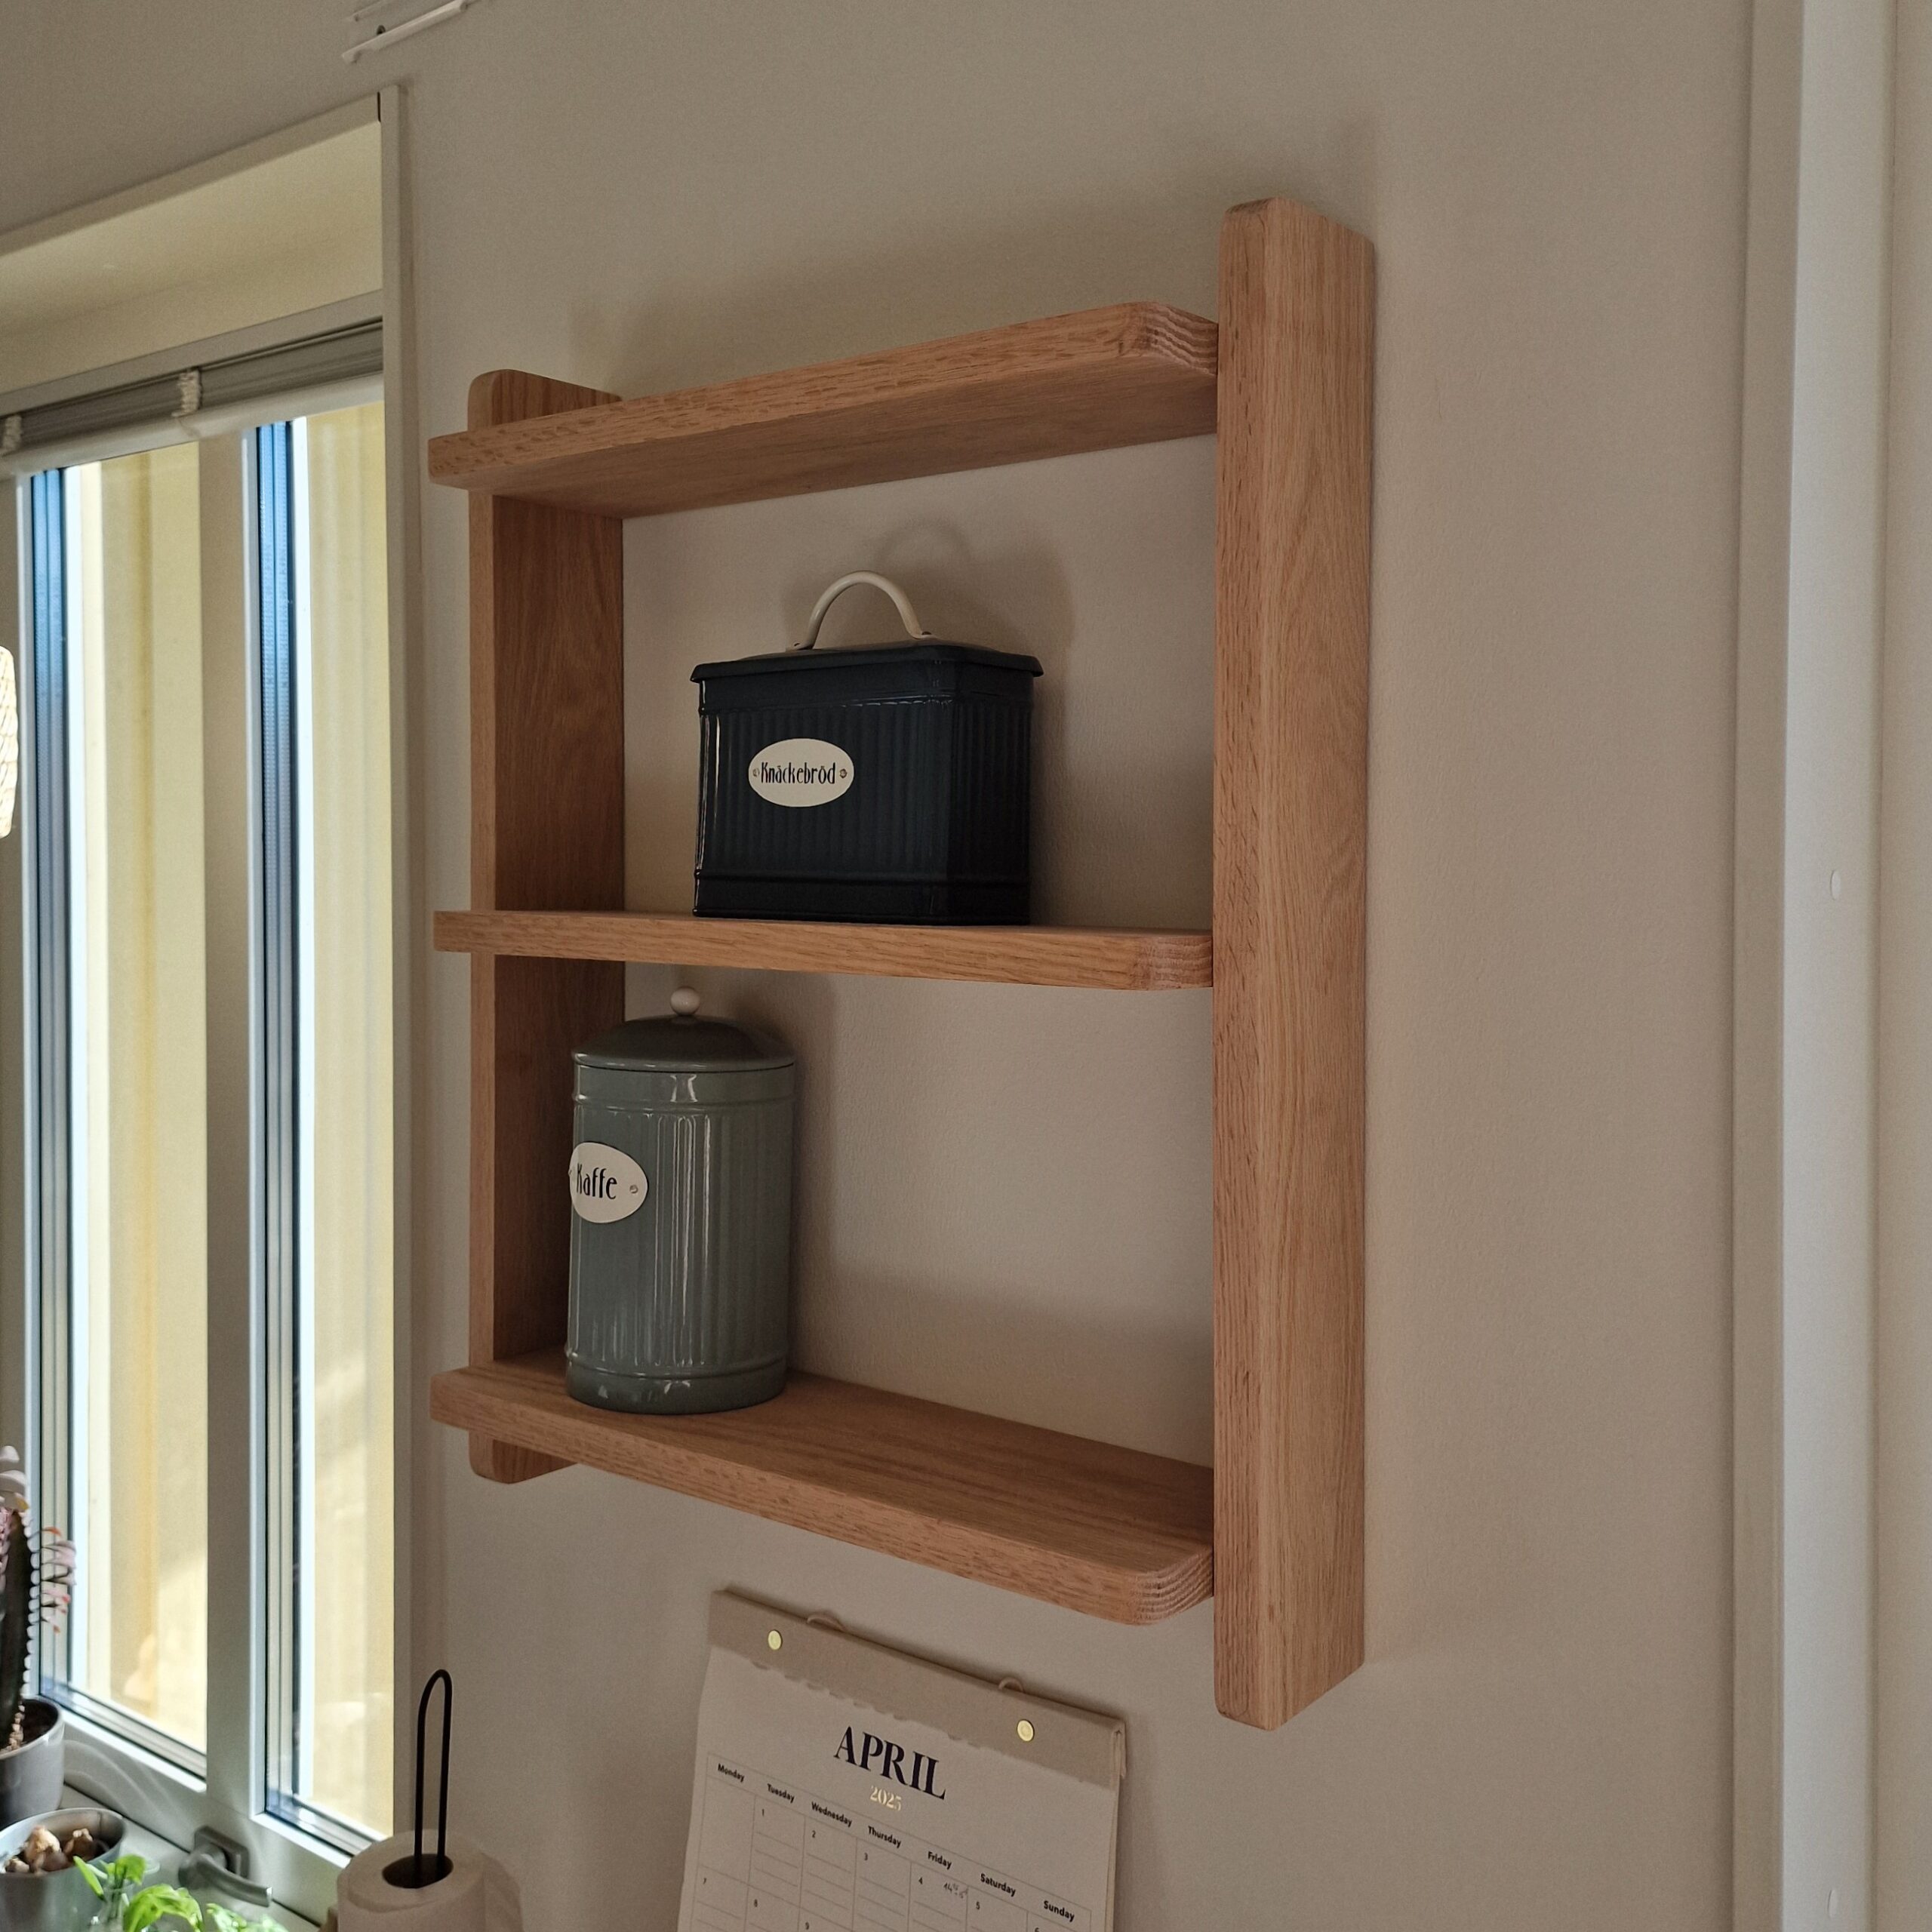
I have wanted to have a small shelf on the kitchen wall ever since I moved into my apartment but have not been able to find the perfect one. Instead of buying a shelf that I am not completely happy with, I decided to make my own.
When building something like this, I find that it is best to start by deciding the rough dimensions. In my case, I wanted it to be about 62 cm high, 48 cm wide, the shelves to be more that 14 cm deep and the spacing between the shelves to be at least 22 cm. Once the dimensions have been decided, I find that it is always a good idea to make a CAD model. This gives you the ability to play around with the dimensions until you are happy.
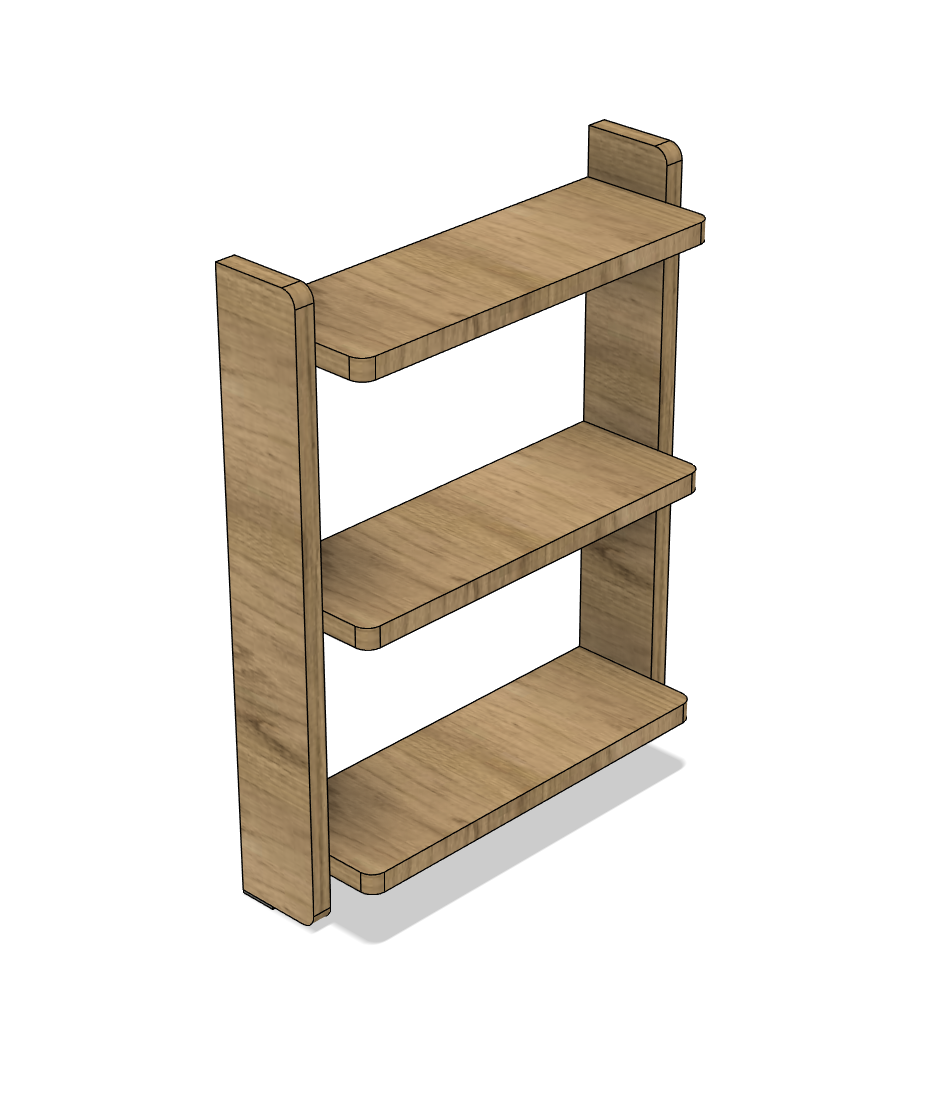

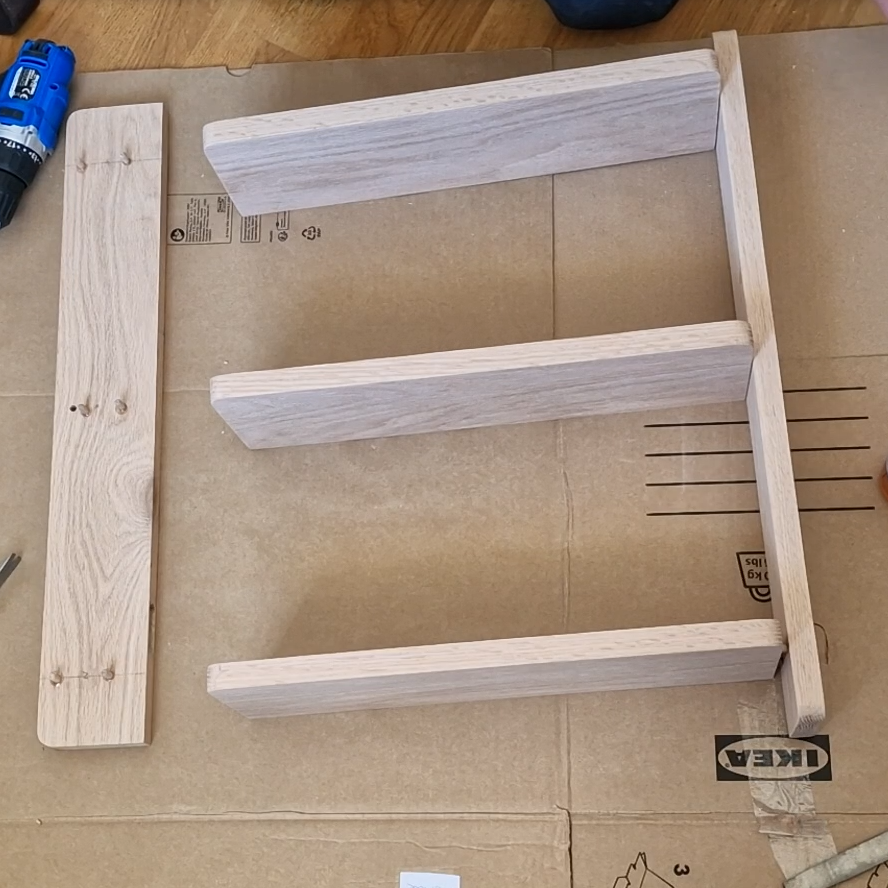
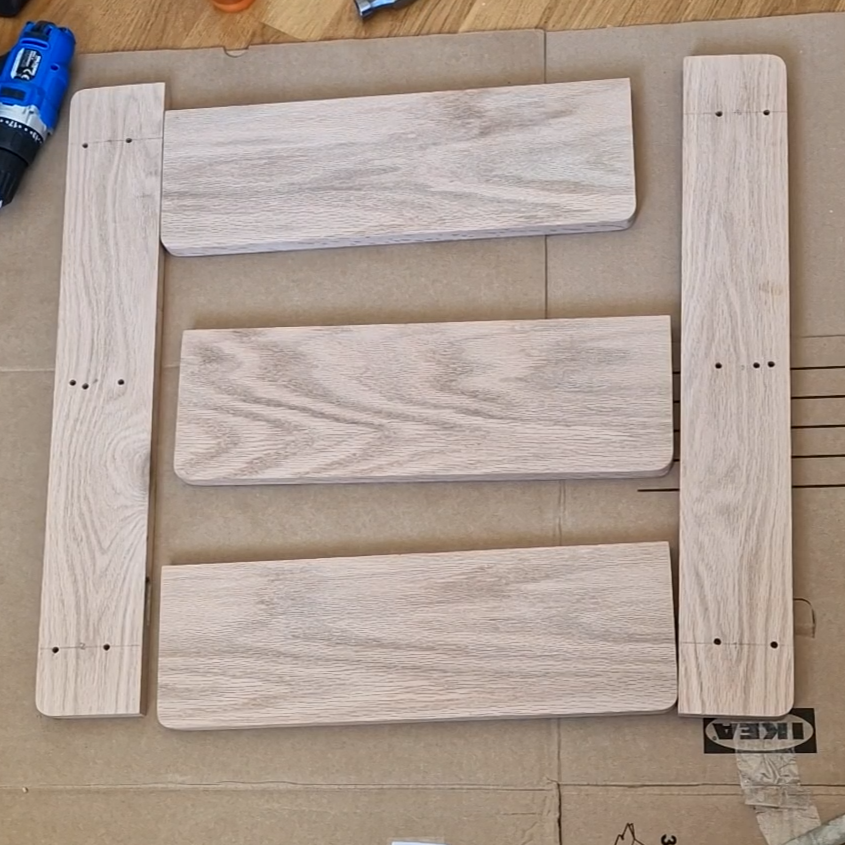
To give the shelf a more pleasing design, I wanted all corners that are not against the wall to be rounded. I planned to make them using a hand router. It is very hard to make a perfect rounded corner free handed. Luckily there is a bit for the router called a transfer bit that allows you to copy the contour of another edge. I decided to 3D print a corner guide that I could use together with my transfer bit to get perfect, identical corners.
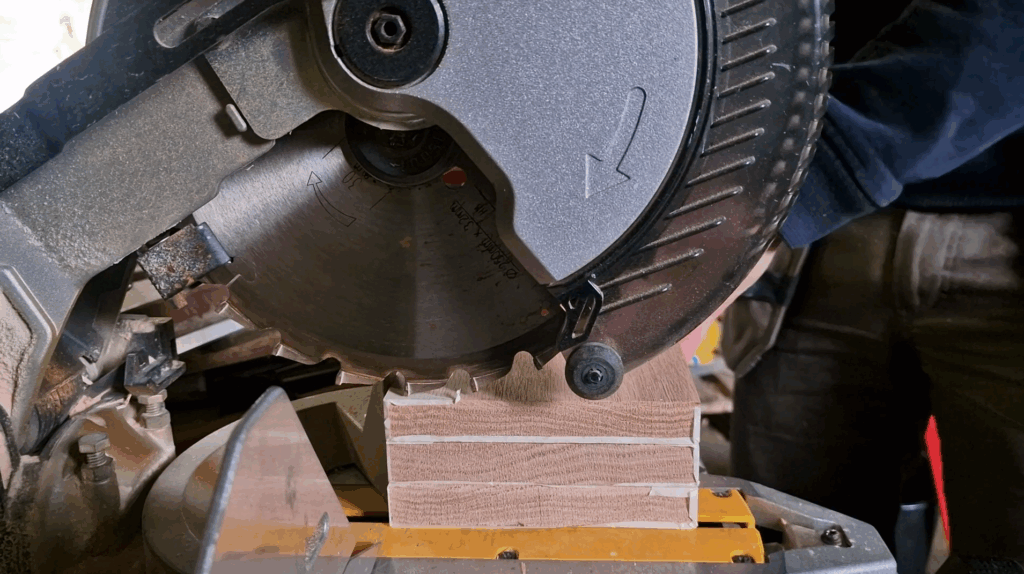
The shelf was constructed from five oak planks, two for the sides and three for the shelves. To make sure the planks were cut at right angles, they were cut using a mitre saw. They were first cut about 10 mm too big. This made it possible to cut all similar ones to length stacked on top of each other at the same time. Doing this guarantees that they are made to the exact same length. The shelf was then put together using wooden dowels and glue.
You never know exactly how a build like this will turn out even if you measure everything and make a perfect CAD model. In this case, I am happier than expected with the result. There is nothing I would change with the design. I especially like how the corners turned out. I also think it looks good with the unusually thick shelves.